May 27, 2024
How to Maintain and Take Care of Your Epoxy Table: A Complete Guide
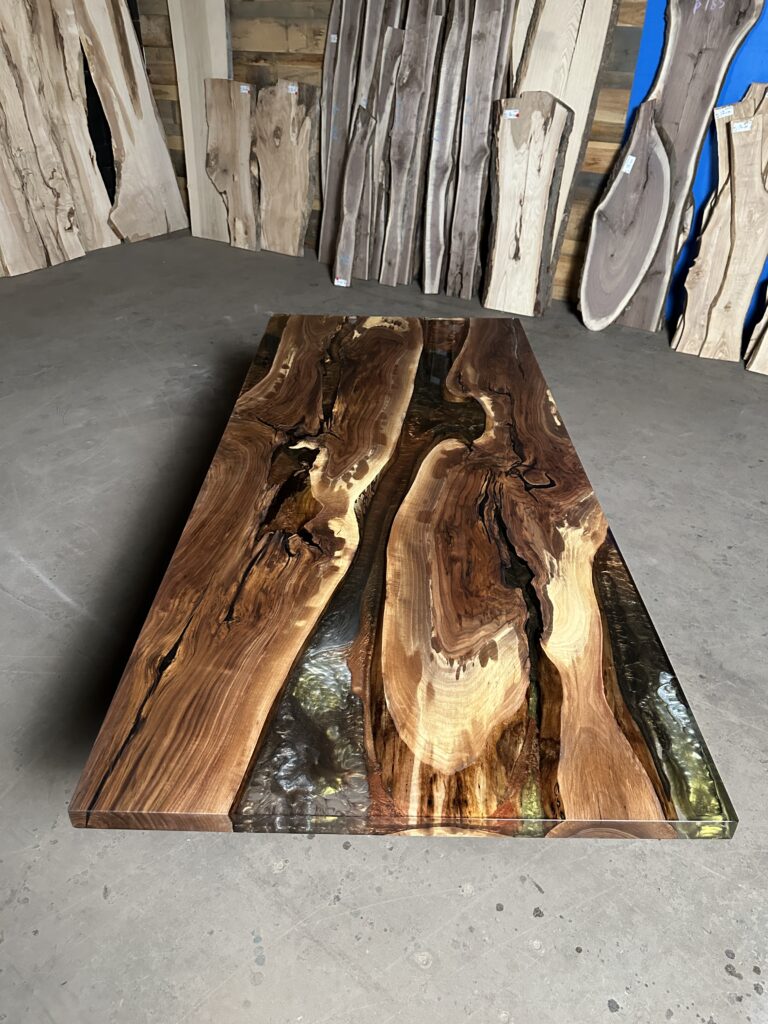
Owning an epoxy table is not just about having a functional piece of furniture; it’s about appreciating the aesthetic beauty and craftsmanship embedded in each piece. To preserve the allure and durability of your epoxy table, here’s a comprehensive guide tailored for epoxy table owners.
1. Regular Cleaning
Materials Needed:
- Soft microfiber cloth
- Mild dish soap
- Warm water
Steps:
- Dust Removal: Gently wipe the surface with a dry, soft microfiber cloth to remove dust and debris.
- Mild Cleaning Solution: Mix a few drops of mild dish soap with warm water.
- Wipe Down: Dampen the microfiber cloth with the soapy solution and wring it out well before wiping down the table. Avoid soaking the table, as excessive moisture can cause damage.
- Rinse and Dry: Use a clean, damp cloth to wipe away any soapy residue, then dry the table thoroughly with another microfiber cloth.
2. Preventing Scratches and Stains
Tips:
- Use Coasters: Always use coasters for glasses, mugs, and bottles to prevent water rings and potential stains.
- Use Placemats: Placemats protect the surface from hot dishes, spills, and scratches.
- Avoid Abrasives: Never use abrasive cleaning pads or harsh chemicals on your epoxy table as they can scratch or dull the finish.
- Immediate Clean-Up: Wipe up any spills immediately to prevent stains or potential damage to the epoxy surface.
3. Polishing the Surface
Materials Needed:
- High-quality polish suitable for epoxy resin
- Soft polishing cloth
Steps:
- Apply Polish: Put a small amount of polish on a soft cloth.
- Buff the Surface: Gently buff the polish into the table surface in circular motions until it shines.
- Final Buff: Use a clean cloth to give the table a final buff, ensuring all polish residue is removed
4. Avoiding Direct Sunlight and Heat
Tips:
- Sunlight Exposure: Keep your epoxy table out of direct sunlight to prevent discoloration and UV damage.
- Heat Protection: Avoid placing hot items directly on the table. Use heat-resistant mats or trivets to protect the surface from heat damage.
5. Repairing Minor Scratches
Materials Needed:
- Epoxy repair kit (containing resin and hardener)
- Fine-grit sandpaper (optional)
- Soft cloth
Steps:
- Clean the Area: Ensure the scratched area is clean and free of debris.
- Mix Epoxy: Follow the instructions on your epoxy repair kit to mix the resin and hardener.
- Apply Epoxy: Carefully apply the mixture to the scratch with a small brush or applicator.
- Sand (if necessary): Once the epoxy has cured, lightly sand the area with fine-grit sandpaper to smooth it out.
- Buff and Polish: Buff the area with a soft cloth and apply a small amount of polish to restore the shine.
6. Maintaining the Table Legs and Base
Tips:
- Material-Specific Care: Depending on the material of your table legs and base (wood, metal, etc.), use appropriate cleaning and care products.
- Regular Checks: Periodically check for any loose screws or bolts and tighten them to maintain stability.
7. Long-Term Care
Tips:
- Routine Inspections: Regularly inspect your epoxy table for any signs of wear or damage and address them promptly.
- Professional Maintenance: For extensive repairs or refinishing, consider hiring Anglewood to ensure the integrity and appearance of your table are maintained.
Conclusion
By following these care and maintenance guidelines, you can ensure that your epoxy table remains a stunning centerpiece in your home for years to come. Regular cleaning, preventive measures, and timely repairs will keep your table looking as beautiful as the day it was made. Enjoy the lasting beauty and functionality of your epoxy table with confidence!